


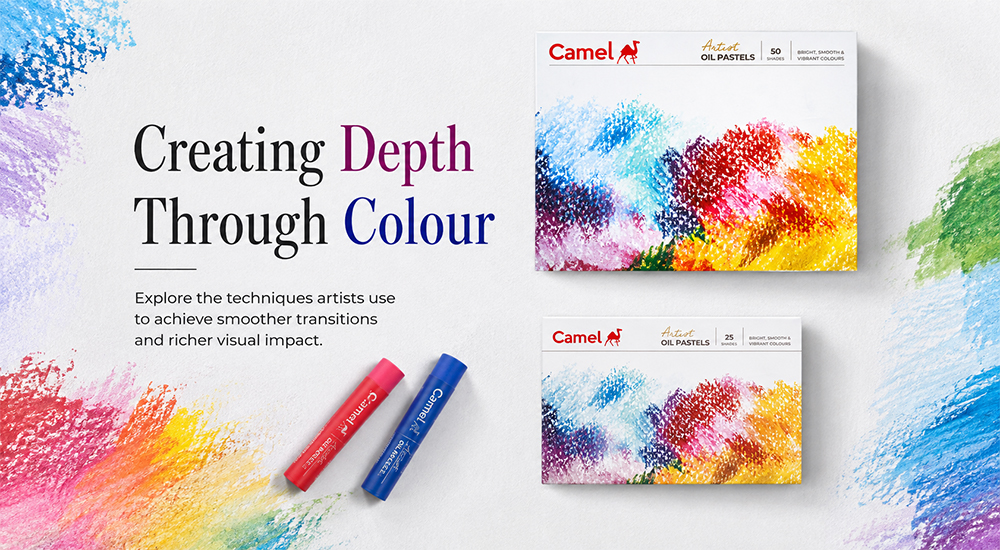
Some drawings just look softer - colours melting into each other instead of having hard edges everywhere. That's basically what blending does, and with oil pastels, it's surprisingly easy to get the hang of. No fancy tools are needed - mostly just your fingers and a few things lying around the house. Whether you're a student picking up art for the first time or someone who colours to unwind after work, learning how to blend oil pastels properly can genuinely change how your drawings turn out.
Why Blending Matters with Oil Pastels
Most people start out treating oil pastels like crayons, just filling in shapes with one solid colour. Nothing wrong with that in the beginning, but blending is honestly where it gets interesting. It adds depth and smoother colour transitions and gives that soft look oil pastels are known for. Without it, drawings can end up looking more like a colouring book page than something you actually made.
It's also handy for shading. Think of the sky going from light blue into a deeper blue, or skin tones that need two or three shades mixed in to look right. Even a plain green field looks more real once you blend in a bit of yellow or brown. Once you start blending, your work just stops looking flat.
Best Tools for Blending Oil Pastels
Your finger is genuinely the easiest tool here, and it works for most blending needs. The warmth from your hand softens the pastel slightly, so colours mix more easily. Keep some tissue or a cloth nearby, though, because wiping your fingers between colours matters - otherwise things get messy real quick and colours end up mixing where you didn't want them to.
For smaller areas - edges, fine details, places where your finger's too big - cotton swabs or tortillons work better. A little baby oil on a cotton swab also helps for bigger areas if you're after a softer, more even finish.
How to Mix Colours for Smooth Shading
Mixing oil pastels is forgiving, which is great if you're just starting out. For a gradient, put your lighter colour where you want the lightest part. Then add the darker colour where the shadow should be, leaving a small gap where the two overlap a bit.
Blend that overlapping section with your finger using small circular motions. Slowly, the colours merge into each other, and you get a smooth transition. Don't stress if it's not perfect the first time - oil pastels layer easily, so just keep adding and blending till it looks right.
Tips for Beginners Working with Oil Pastels
Start small. Blue and white for clouds, or yellow and orange for a sunset - these are easy combinations to practise without overthinking it. Once you're comfortable, move on to bigger drawings.
Build up colour gradually instead of pressing hard right from the start. Gives you more control, and blending's easier when you're not applying a thick layer of pastel.
Slightly textured paper helps too - holds the pastel better and doesn't let colours slide around as much. And mistakes aren't a big deal here, since oil pastels layer over pretty easily if you want to fix something.
Final Thoughts
Blending with oil pastels really doesn't need much - just your fingers, some patience, and a bit of practice. Once mixing colours and creating smooth transitions feels natural, you'll realise there's a lot you can do even with a basic set. Camel oil pastels are a good pick here since they're soft and blend with low effort. If you're just getting into this, spend some time messing around with blending - it's an easy way to get comfortable with the medium and slowly get more confident with colours.
Frequently Asked Questions (FAQs)
Q. How do you blend oil pastels smoothly?
A. To create a smooth blend, apply two colours side by side and overlap them slightly. Then use your finger, a blending stump, or a tissue to gently mix the colours together. Working in light layers usually produces softer transitions than applying heavy pressure from the start.
Q. Can you mix colours with oil pastels like paint?
A. Yes. Oil pastels can be layered to create entirely new colours. For example, blending yellow and blue can produce different shades of green, while red and white can create soft pink tones. This makes them a great medium for experimenting with colour theory without needing paints or palettes.
Q. Why is blending important in oil pastel art?
A. Blending helps remove harsh colour boundaries and gives artwork a more polished appearance. It can add depth to landscapes, create realistic skin tones, and make skies, water, and shadows look more natural. Even simple drawings often look more professional once smooth colour transitions are introduced.
Q. What can I use instead of my fingers to blend oil pastels?
A. While fingers are the most common blending tool, they are not the only option. Cotton swabs work well for small details, tissues help soften larger areas, and blending stumps offer greater control for precision work. Some artists also use a small amount of baby oil to achieve a smoother finish.
Q. Why do oil pastels blend better than crayons?
A. Oil pastels contain more oil and pigment, which gives them a softer texture than traditional crayons. This softness allows colours to mix directly on the paper and creates gradual transitions that are difficult to achieve with harder colouring materials.
Q. What are the easiest colour combinations to practise blending with?
A. Beginners often find it easiest to start with colours that naturally sit close together, such as yellow and orange or blue and purple. These combinations blend smoothly and help build confidence before moving on to more challenging gradients or complex colour schemes.
Q. How can beginners improve their oil pastel blending skills?
A. The best approach is regular practice with simple subjects rather than complex artwork. Try creating colour gradients, sunsets, or cloudy skies where blending is the main focus. Over time, you'll learn how much pressure to apply, how many layers to build, and which colours work best together for smooth results.
Did this article help you learn something new?
Share your thoughts with us in the comments below.
Leave a comment


Comment added
Comment updated
Comment deleted
More inspiration
“
“Art is not what you see but what you make others see.”