
Gift wrapping can be fascinating. Learning how to fold a paper gift box is an admirable and useful skill to have. Once you understand how to make these, you can follow the same steps to make paper boxes of any size. If you have the habit of impulsive gifting or like surprising your loved ones, this technique is perfect for you!
What you will need:
- Two thick decorative papers (13″ square and 13.5″ square)
- Camlin Scale
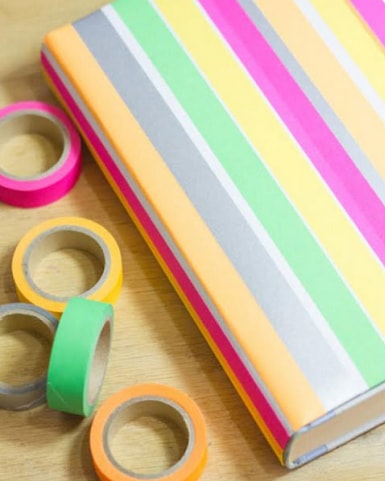
- Camlin Glue Stick or washi tape (optional)
Step 1: Cut your paper
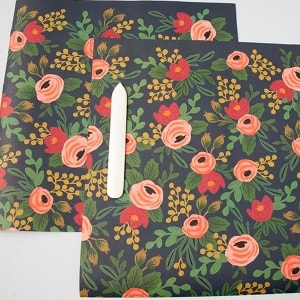
To make a box with a lid, you need two pieces of square-shaped paper. The paper you will need to use for the bottom part of the box needs to be half an inch smaller than the one you will be using on the top portion.
When you fold it, the box will become just about one-third of the original square. In the example we are discussing - from a 13” and a 13.5” of square-shaped papers, we will be making a box that is 4. 75” wide and 2.5” tall.
You can freely experiment with more sizes as well, based on the size of your gift. The heavier the paper used by you, the sturdier your gift box will turn out to be.
Step 2: Fold long edges
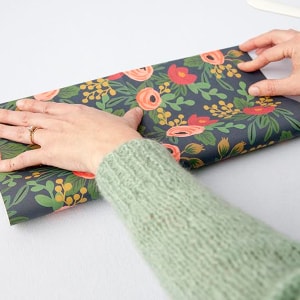
After cutting your paper, place it on your desk with the wrong side facing up. Begin folding the papers – long edge to long edge. Once your corners and edges are matched up, gently press the fold you want to make permanent and then crease to make it permanent.
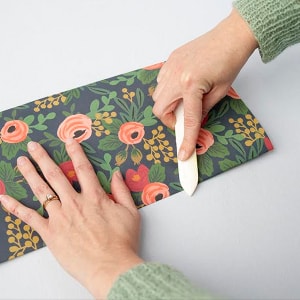
Step 3: Folding opposite corners
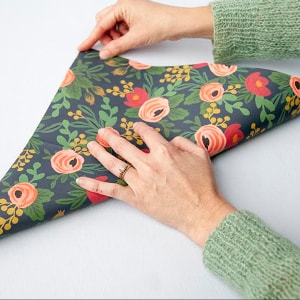
Fold each corner such that the opposite corners touch, as shown in the image below. While making the permanent crease, make sure that the crease runs all the way up to the corner points on both edges of the fold.
Open the paper and repeat the same process for the other two corners.
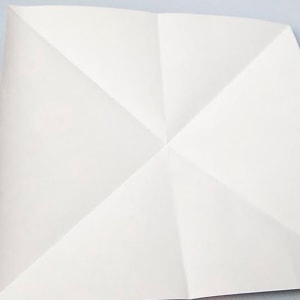
Upon opening your paper, it should look like this.
Step 4: Folding corners to the centre point
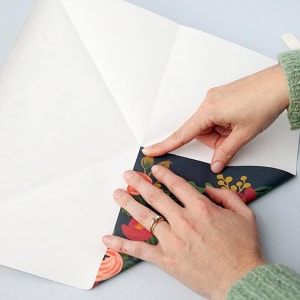
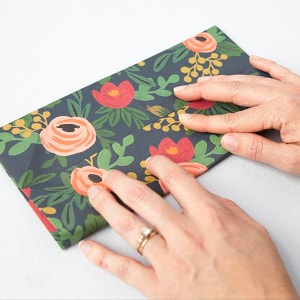
Keeping the paper opened up, fold each of the corners to the centre of the paper at the common intersection of all the creases. Press the fold into place and create a permanent crease.
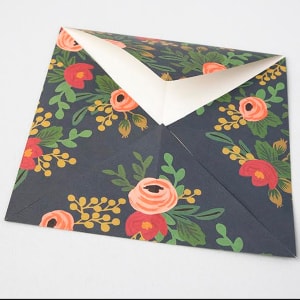
Step 5: Folding edges to the centre

At this point, fold the edges of the paper such that all the corners intersect in the middle of the paper. Once to make the crease permanent, fold the top edge down towards the centre.
Next, open the paper up to form 90-degree angles. Repeat this until you get the opposite long edges to be folded towards the centre point.
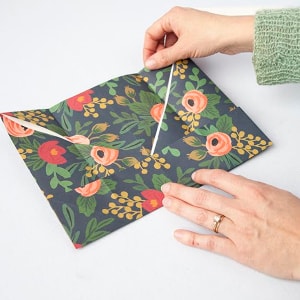
Now, open the corner's edges that are opposite each other.
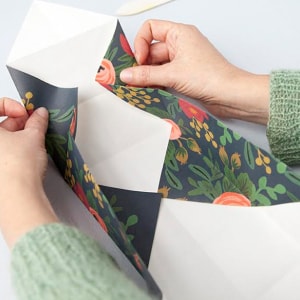
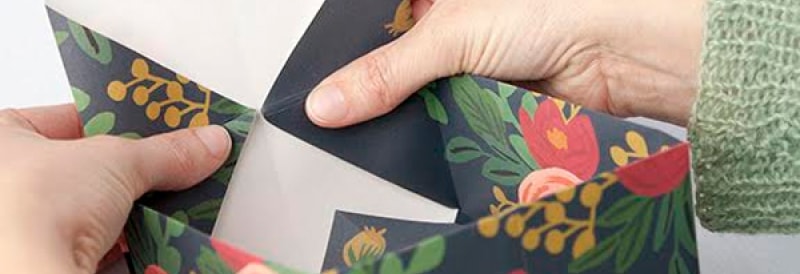
Lift up each of the walls that are folded along the edges. Make sure you work on only one open corner at a time. Ensure a neat finish by using your thumbs to hold down the paper. At this point, don’t make any new creases. Instead, just follow the existing folds and you will watch your box taking shape.
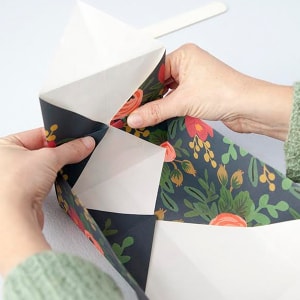
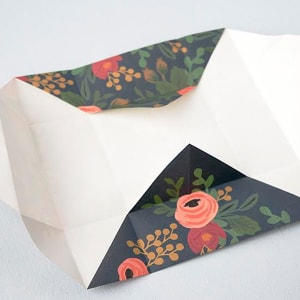
Locate the fold lines for the open end of the box and press down the tabs. Once this is done, lift the paper to form a third wall.

Next, press the paper down from above the edge of the wall, the corner point of which should sit in the middle of the box.
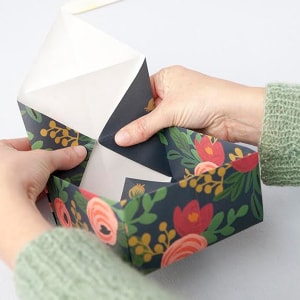
Repeat this movement to finish the fourth wall of your box.

Once you are done erecting all four walls, press the interior of the box into all corners to give it a crisp shape. Make sure you secure the corners of the box with a little dab of glue stick or with washi tape on the underside.
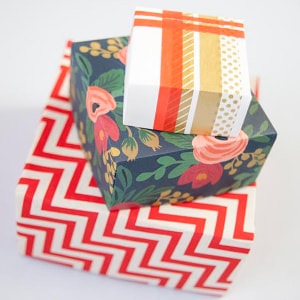
Congratulations, your gift box is ready. Happy gifting!


Did you like the gift box we helped you make?
Share your experience with us in the comments below.
Leave a comment


Comment added
Comment updated
Comment deleted
More inspiration

“
“The world always seems brighter when you've just made something that wasn't there before.”