
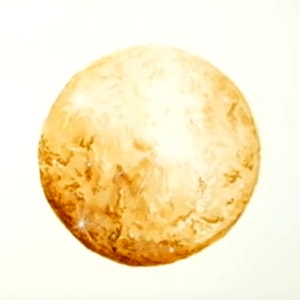
Looking for ideas to paint the moon? The moon appears in different sizes and shades of colours from different parts of the earth. When it comes to learning how to paint a moon, you have the freedom to paint the moon’s surface on paper however you wish.
What you will need:
- Camel Canvas
- Camlin Artist Brush Pens
- Camlin Brush
- Pencil
- Any circular object
- Watercolour paper
Bring the mysterious moon home with this blog on how to paint a moon, step by step.
Pro Tip 1
The moon’s surface is covered with dead volcanoes and impact craters. The steps can still be followed even if you use a reference image of the moon.
Pro Tip 2
Every time you have to use more colour, simply colour the watercolour paper with the brush pen of your choice. Dip your paintbrush in this colour to continue painting.
Step 1: Drawing the shape of the moon
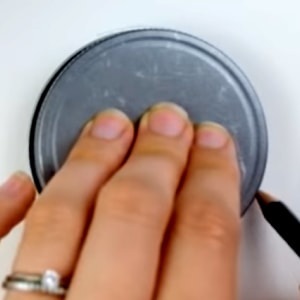
In order to get that perfect circular shape of a full moon, take the round object and draw an outline for the shape of the moon. The artist has rubbed off the border completely but if you think that you will get the shape of the moon wrong if you do the same, then you can lightly rub off the borders.
Step 2: Painting a basic hue
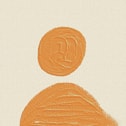
Colour the watercolour paper with the Chrome Yellow Brush Pen shade. Dip your paintbrush in this pigment and paint a light hue on your canvas for the base of the moon. To paint the moon, as shown in the image below, dilute the chrome yellow pigment with water and spread it with a brush.
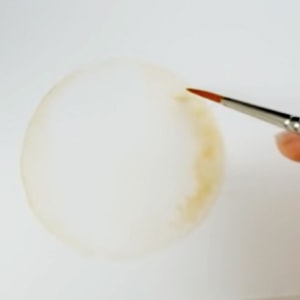
Step 3: Highlighting the edges

Start darkening the border of the moon with chrome yellow. Make sure to dip the brush in the paint every time you want to darken the shade.
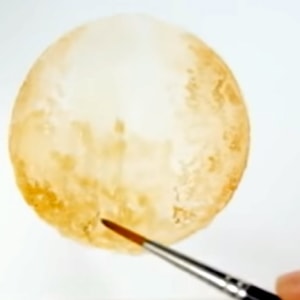
Step 4: Adding depth to the moon
Start adding dots of paint on the surface of the moon. You can randomly add these dots and blend some of them in for a blotchy, irregular look.
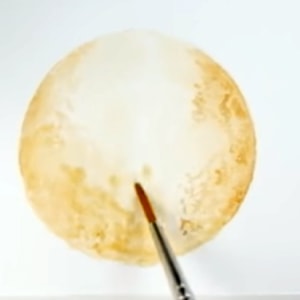
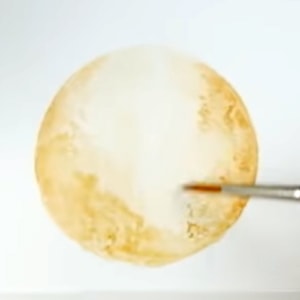
Step 5: Colouring the moon
Add more colour to the centre section of the moon. This will give the moon a rich tone.
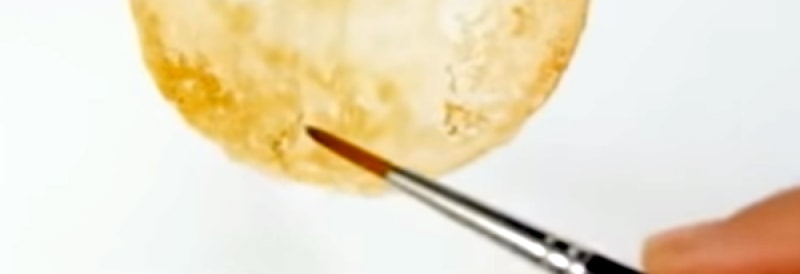
Step 6: Adding in the details
Using the smaller brush you can start adding more details to the lunar surface in your painting.
Step 7: Highlights using brush pens directly
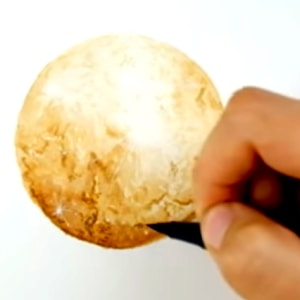
Once you are happy with the colour of the moon, start highlighting the different areas on the moon with the brush pen directly.
Step 8: Adding finishing touches
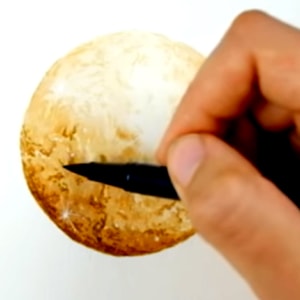
Add different shapes and lines that blend well with the lunar surface using brush pens directly. These strokes with the brush pen will give the moon texture and depth, making it look even more realistic.
Allow the painting to dry and the painting is ready for display!
Painting the moon may seem daunting at first. To get better at it, practice and experiment with the colours and shades of the moon.


Did you enjoy this blog on how to paint a moon step by step?
Share your thoughts with us in the comments below.
Leave a comment
Comment added
Comment updated
Comment deleted
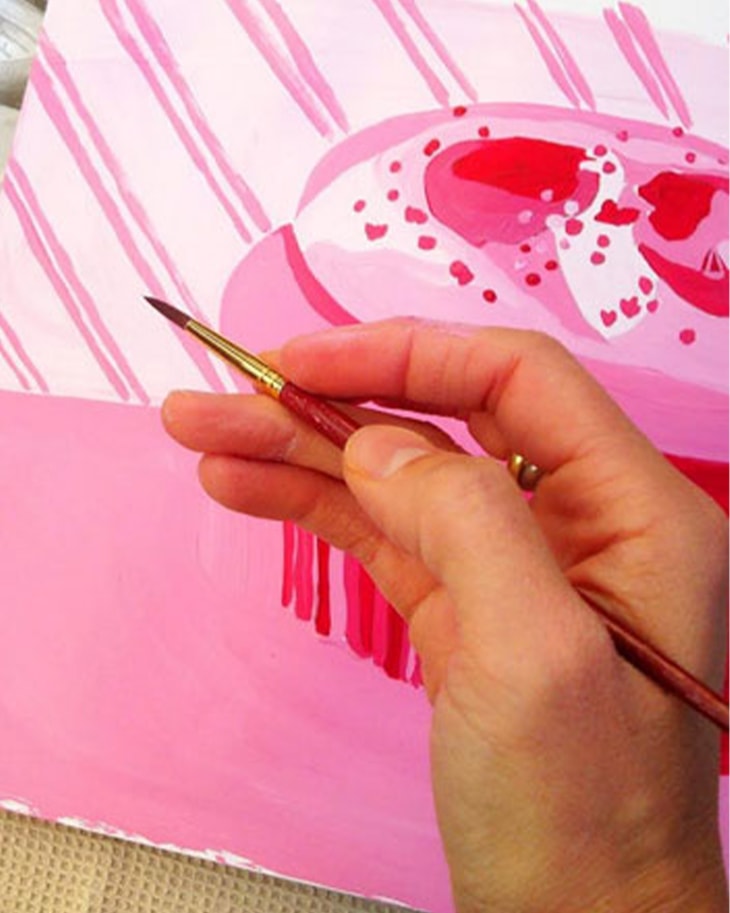
More inspiration
“
“Art heals all my feels.”