
There is a sense of romanticism to ships at sea – be it shipwrecks or ships lost at sea due to mysterious reasons. Ships have inspired great stories among writers and artists for centuries. There have been movies inspired by them too!
Granted, the ships made today look different from the ones that were made in the past but gone are the days when the oceans were filled with different types of ships. The very sight of tall sailboats, even to this day, conjures up images of pirates and gunships at war.
What you will need:
- A photo of a tall sailboat
- Camel Artist Water Colours
- Camlin Mechanical Pencils
- Camel Canvas
- Camlin Brushes
Step 1: Observe the picture of a sailboat
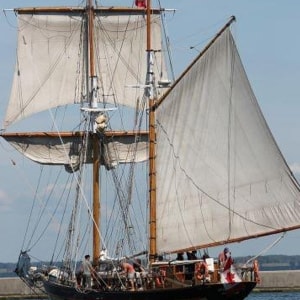
Once you have chosen a picture of a sailboat, observe it. See how the ship fits in the frame of your canvas. Decide which colours you will need.
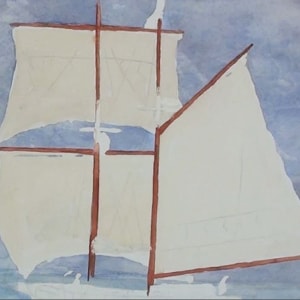
Step 2: Masked sails
There are going to be a lot of areas in your painting that need to stay white. This means you are going to have to protect these specific areas with a masking liquid. Adding ½ an inch to 15mm of your masking liquid along the edges of the sails should be good enough protection.
Once you are done adding the masking liquid wherever required, blow-dry the painting before proceeding to the next step.
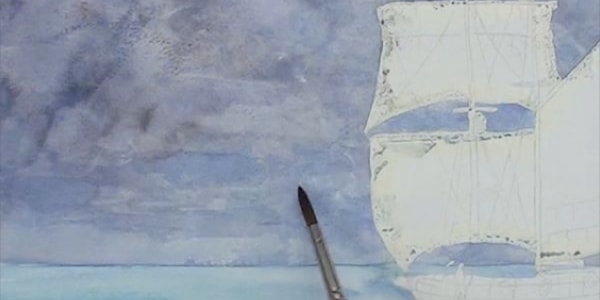
Step 3: Painting the sky
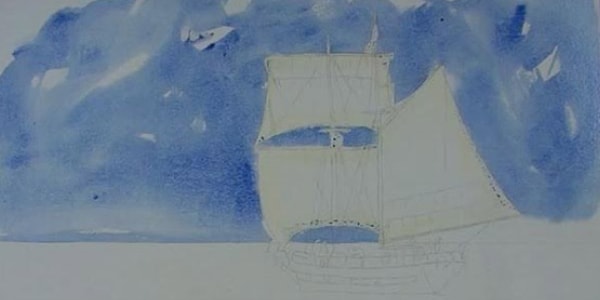
Wet the sky area in your painting with the help of a large flat brush and then add Cobalt Blue slowly.
Make sure that you paint the horizon straight.
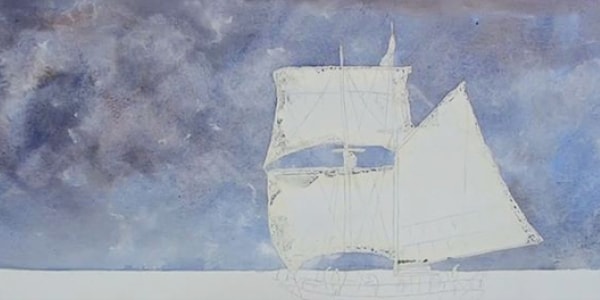
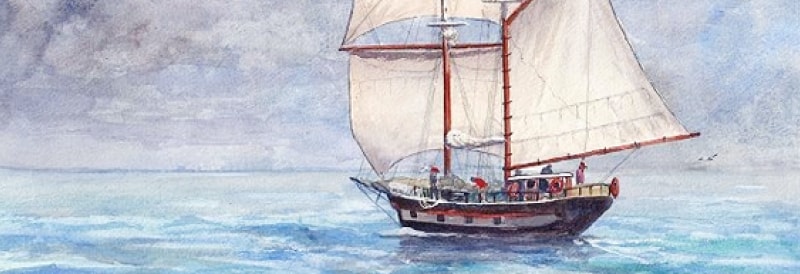
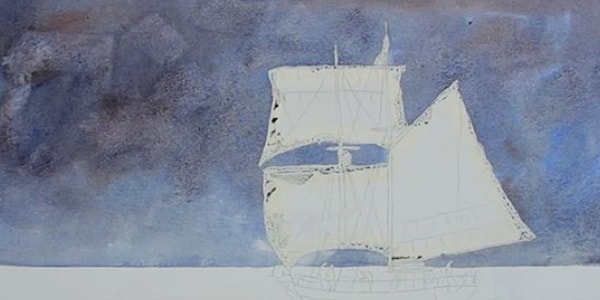
Add darker shades of blue to the sky to make it look stormy, as shown in the picture. Add a little bit of Burnt Sienna to warm up the painting. One easy way to do this is to drop this colour in the soaked part of the sky in your painting and gently spread it across. What we are looking to create is a light-coloured ship against the backdrop of a dark, stormy sky – a promising dramatic scene at that!

With a bundled-up tissue, dab some areas to give an impression of billowing clouds.
Step 4: Painting the sea
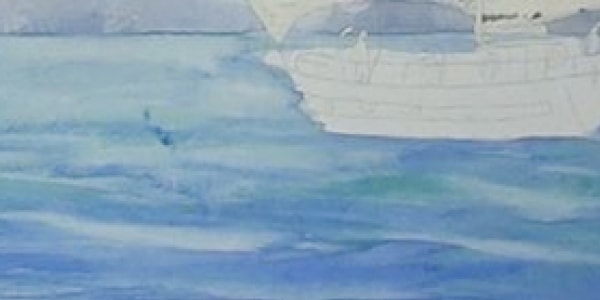
When it comes to painting horizontal strokes with the brush, mix up a little bit of Blue with Viridian. Avoid painting too evenly. To create a nice pattern of windswept waves, use the two colours you picked in horizontal lines and inter-mingle them as you paint.
Keeping the foreground darker, paint the waters lighter, especially towards the horizon. Highlight the reflection of the occasional flashes of lightning in the distance.
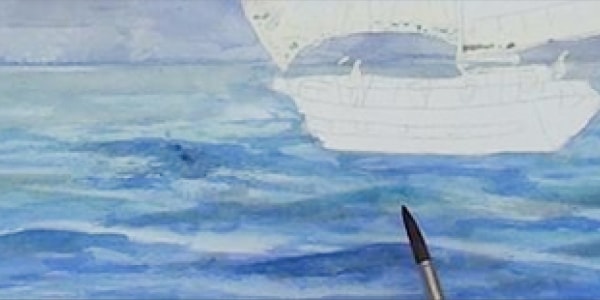
At this point, we can start adding the swells and curves of the turbulence created by the storm in the picture. Avoid overdoing it and making the waves too wild. The waves in the distance will look smaller as compared to the ones closer.
Since the sea surface reflects on the clouds, carefully glaze in a light shade of the light sea colour on various sections of the clouds. This will create a colour harmony between the sky and the sea.
Use a round brush to paint the shadow area of the waves. Also, note that each wave will have a light reflection on the top edge of it.
Ensure you don’t make the swells of the waves too big in relation to the ship.
Paint the water a shade darker where the shadow cast by the ship falls into the ocean. Let the painting dry before you continue.
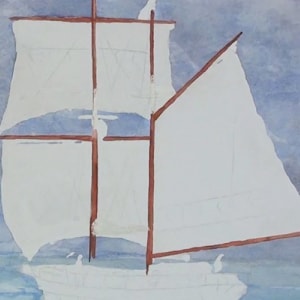
Step 5: Painting the sails
Once you are happy with the under-painting, you can work further on the shadows and other darker shades appearing in your painting.
At this point, you can remove the masking fluid from the ship.
Begin painting all the spars and the masts with an orange-brown colour. To make sure that these come out straight, it would be best to paint these in a series of short strokes.
The sails are made from a very strong cotton cloth or canvas. Unless they are new, the sails will be weathered and also slightly discoloured and yellow from being exposed to harsh weather conditions, often prevalent at sea.
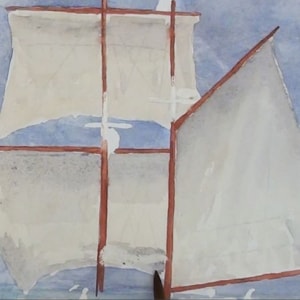
To get that weathered look of an aged ship, begin painting with some Yellow Ochre over the sails. Once this is done, add a glaze over it.
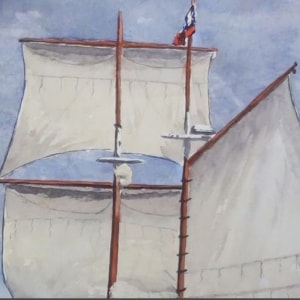
Next up, mix the blue or grey to show shadows in the sails. Show the folds in the sails carefully.
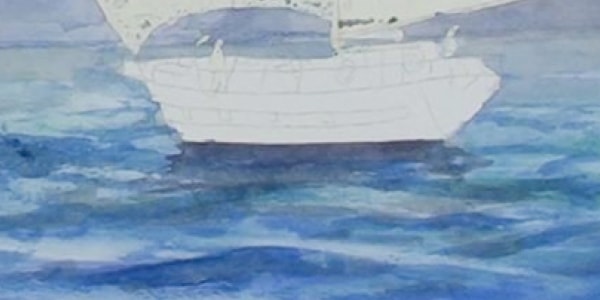
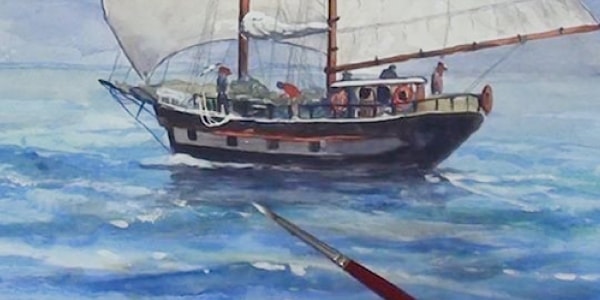
Step 6: Painting the ship
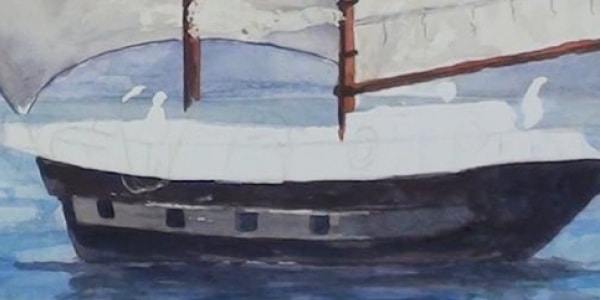
Prepare a shade of very dark brown using Ultramarine Blue and Burnt Sienna. Paint the hull of the sailing ship and the lighter strip on the side, with this colour.
Now comes the most interesting part of this art project – painting details of the deck! There are tons of details shown in the reference photo but you won’t have to paint all of them.
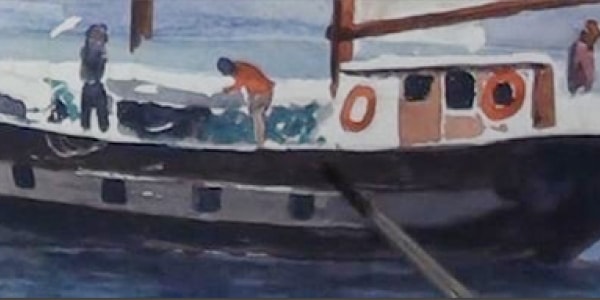
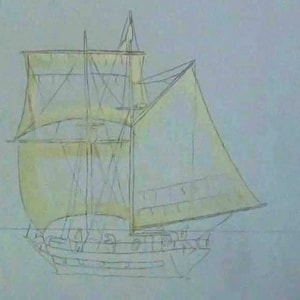
What you can do is simplify this process by blocking out the main shapes. You will have to take care while painting the general shapes of the sailors.
As you can see in the image, the painting shows a simple suggestion of what is present on the deck without focusing too much on the details.

Once these shapes have been painted, we can add the railings with a small rounded brush.
Step 7: Finishing up with details
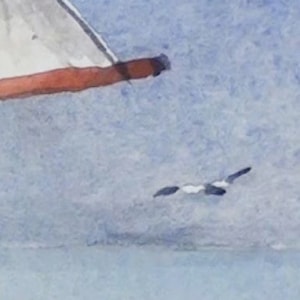
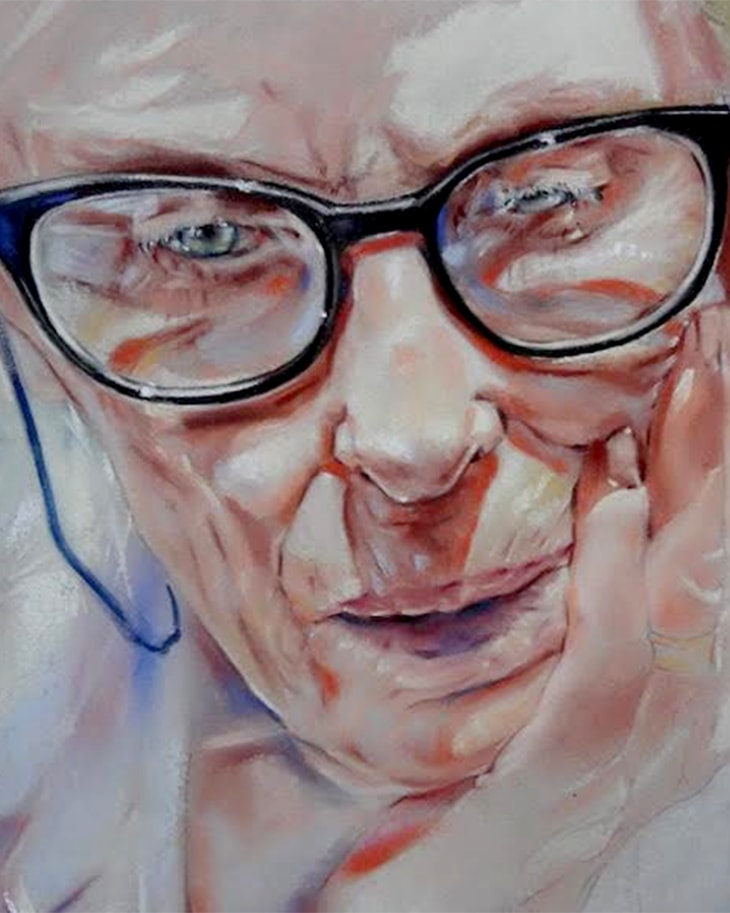
You can paint a seagull or two for some additional points of interest in the painting and to show some more movement.
The above close-up shows how you can simplify the details.
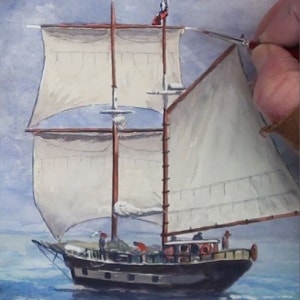
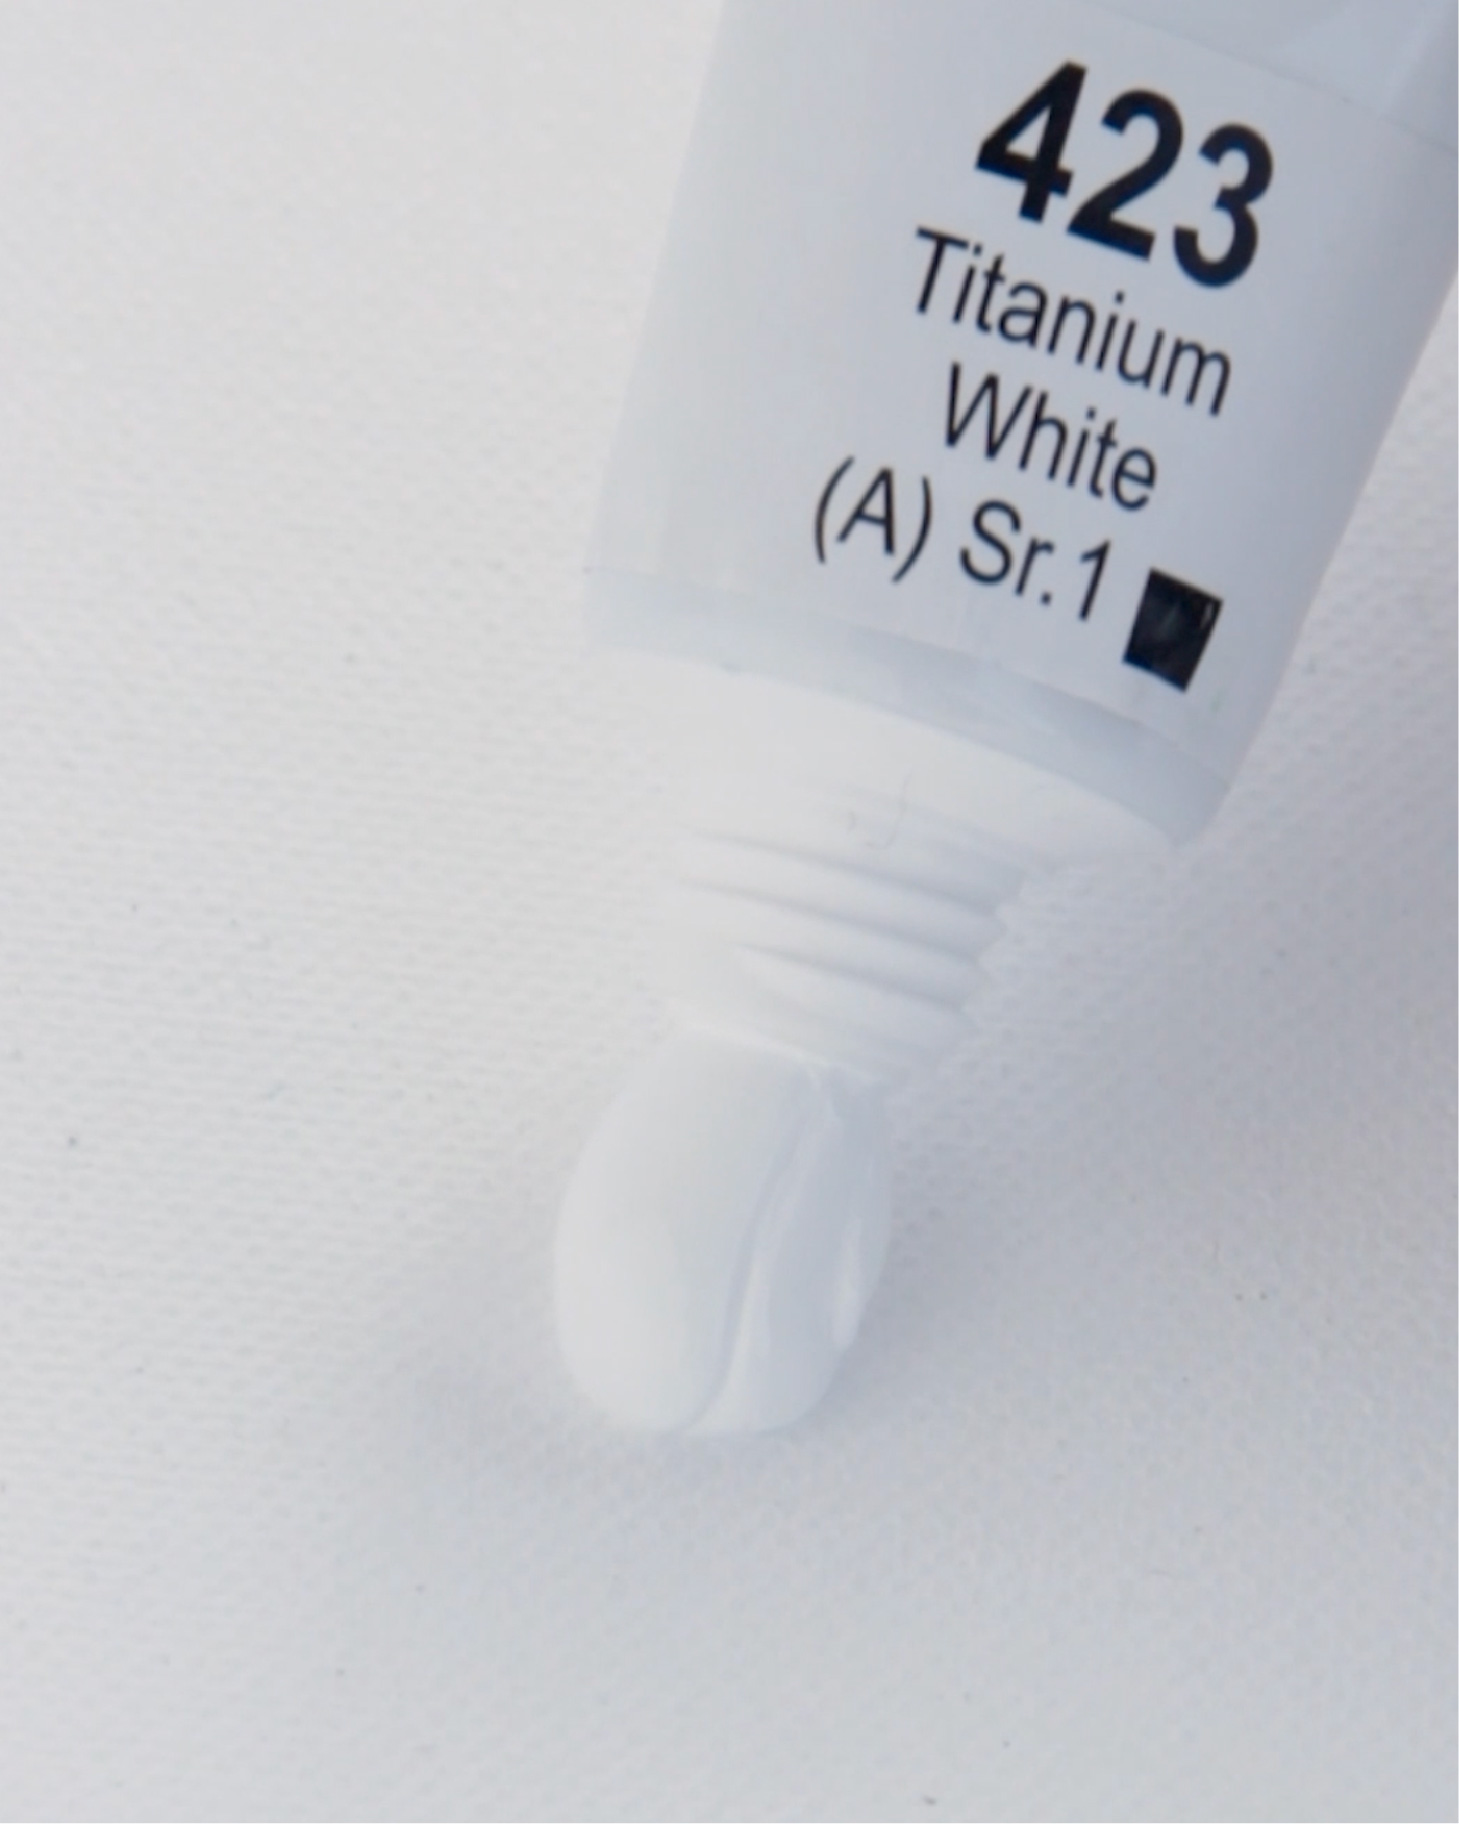
With some White paint, touch up all the little areas in your painting that need more White, such as the tips of the ship’s spars.
For this size of a ship, it won’t be possible to paint the thin lines of the ropes with a small brush. They will need to be added with a sharp pencil. You can use a mechanical pencil as well.
Now add the main rigging and leave out the lesser ropes. It is not mandatory to add them all.
Using the White, highlight the deck areas and the top part of the waves.

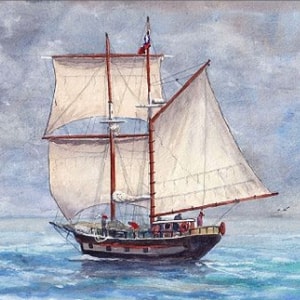
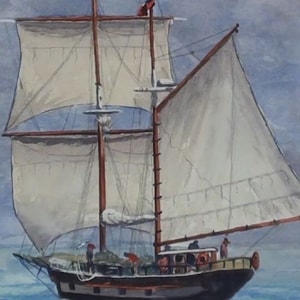
Finish off your painting by ensuring that not all your sails are in the same shade, as shown in the finished painting below.
Allow the painting to dry and it is ready to be showcased!
Share your thoughts with us in the comments below.


Did you find our tips on how to paint a sailboat helpful?
Leave a comment

Comment added
Comment updated
Comment deleted
More inspiration

“
“Keep practicing.”