
Are you just starting out as an artist? Or just curious to learn more about all there is to know about art? Whichever it may be, the best way to go about it is by educating yourself as much as possible while you imbibe the best art practices that work for you.
Often, using the right paintbrush can make all the difference, when it comes to learning how to paint. Think of your paintbrush as if it were a magic wand! As you begin painting with different kinds of brushes, you will be able to identify better how that brush handles paint. The more you practice the sooner you will learn how to manoeuvre the brush across your canvas.
Before we move on to different types of brushes, here is an understanding of the different parts of a brush.
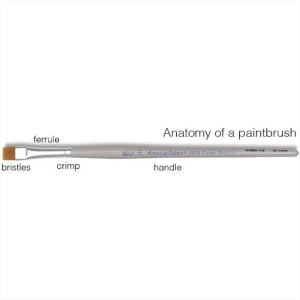
- Bristles: The hair or the bristles can be natural, synthetic or a combination of both.
- Ferrule: The silver bit that connects the bristles to the handle.
- Crimp: The tiny part that secures the ferrule to the handle of the brush.
- Handle: The body of the brush which is usually held.
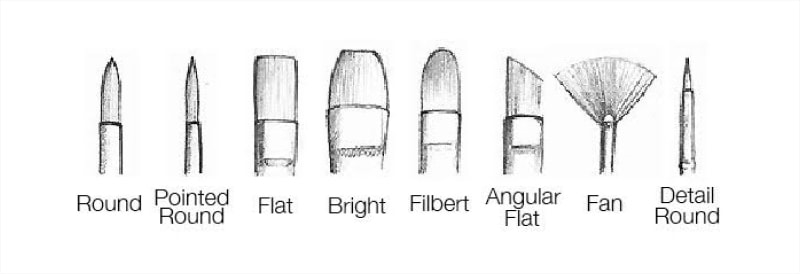
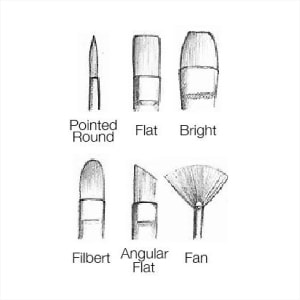
Here’s a deeper understanding of what each kind of brush is meant for:
Round brush
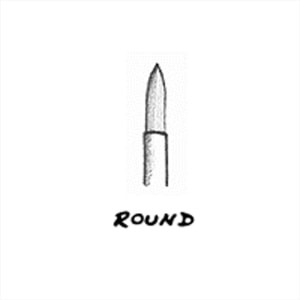
This one is mostly used for the details like outlining, controlled washes and filling in small areas of a painting. You can actually create both thin as well as thick lines using this brush – thin at the tip with strokes becoming wider when the brush is pressed down.
Pointed round brush
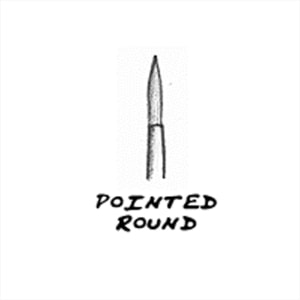
This one is narrower than the round brush and has a sharper pointed tip. It is good for details as well as for covering the delicate areas of a painting and spotting or retouching techniques.
Flat brush
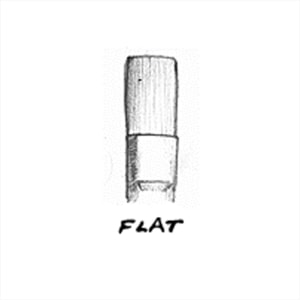
This brush has a square end with medium to long hair. It is good for bold strokes, filling wide spaces in your painting, and the impasto technique of laying on thick paint wherever required. The edges of a flat brush can be used to paint fine lines or straight edges of various objects and stripes. Long-haired brushes are also good for varnishing.
Bright brush
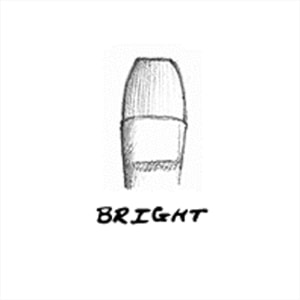
These brushes are flat-haired with edges slightly curved inward at the tip and short hair. These brushes are ideal for short, controlled strokes while applying a thick and heavy shade of paint. The best way to use this brush would be to hold the brush at a distance from the canvas.
Filbert brush

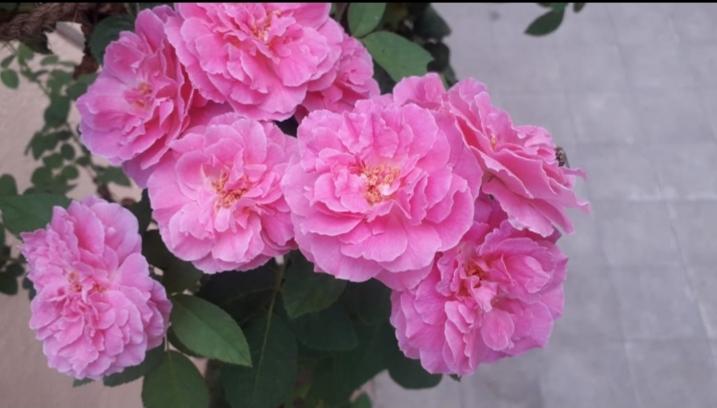
This one is flat with an oval-shaped end and medium to long hair. This brush is good for the blending technique. For example, this brush is perfect if you want to paint soft round edges like flower petals. This brush is a unique combination of rounds which helps in creating beautiful details. Since it is flat, it also helps to cover more space.
Fan brush
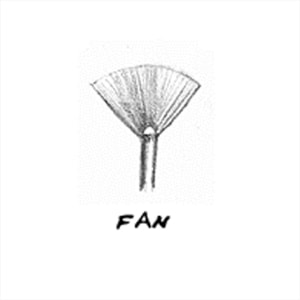
This brush has flat hair that is spread out. This type of brush is good for feathering, smoothing and blending techniques. It can also be used to create a variety of textures across your canvas such as clouds, leaves, and more.
Angular flat brush
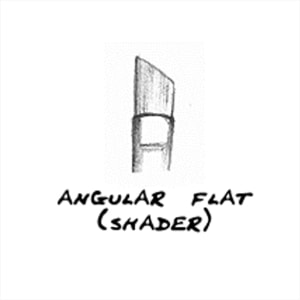
This brush is flat with angled hair at its end. It is good for filling corners and curved strokes. It can reach small areas with its tip. Similar to other flat brushes, this too can help cover lots of space while painting.
Detail round brush
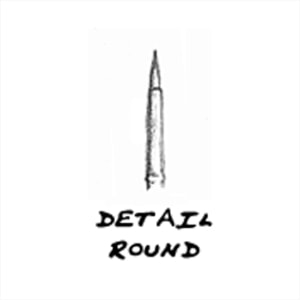
This brush has hair that is short and round in shape on a shorter handle. It is good for short strokes and details. It can certainly hold more colour than one might think!.
Before we move on to different types of brushes, here is an understanding of the different parts of a brush.
Stack-up Can Desk Organiser
You’ll need around 10 cans, Camel Artist Oil Colours, and a hot glue gun. Start by cleaning the cans, painting each one of them, and allowing them to dry. Place the cans to form a triangle in the order of four, three, two, and one. Use the hot glue on the sides touching each other and that’s it!

Did you find this article informative?
Share your thoughts with us in the comments below.
Leave a comment
Comment added
Comment updated
Comment deleted
More inspiration

“
“Creativity is nothing but a mind set free.”