
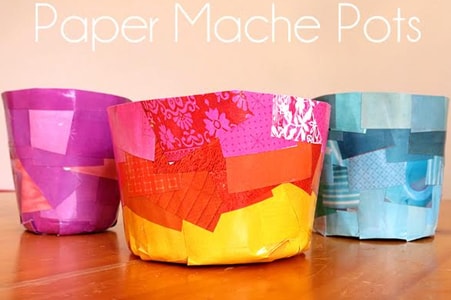
One of the best things about using paper mache in craft is that it is very simple to make. The key is to keep an open mind and sculpt whatever you choose to. Paper mache can be used to not only make home décor but also school projects. This art project uses recycled paper which makes it eco-friendly! Learn how to make paper pots this World Earth Day, to make something ‘tasteful’ out of something ‘wasteful’.
What you will need:
- A plastic container
- Magazines
- Camlin White Glue
- Water
- Recycled tray
- Plastic food wrap
- Masking tape
Step 1: Cut paper
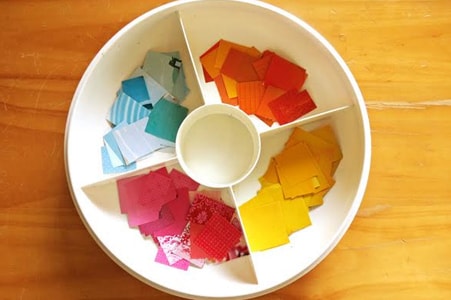
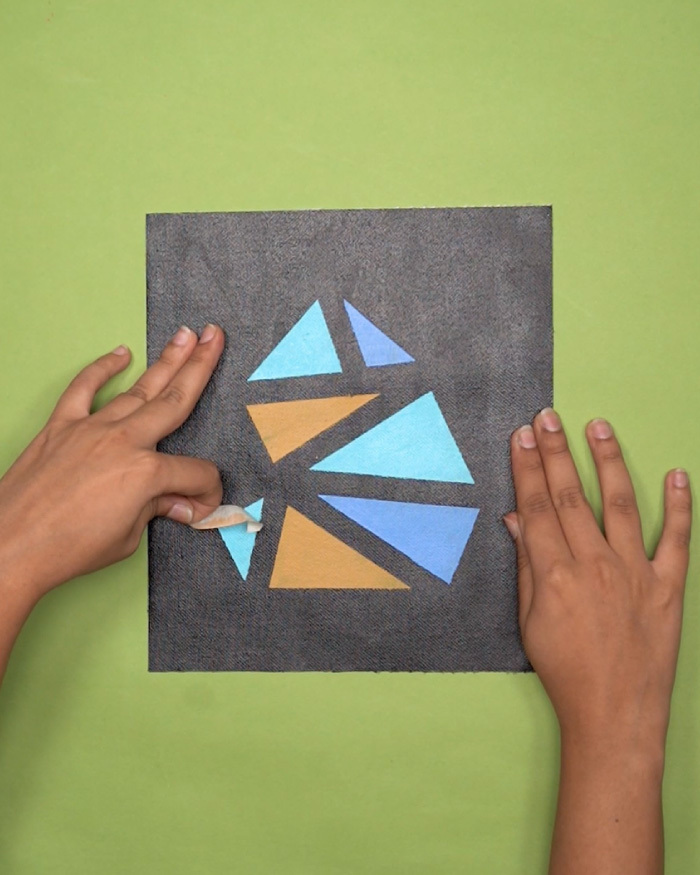
Have a look at the magazines you have and pick the papers you would like to use. You can choose any colour you like. You can also use multiple colours to make it beautiful and vibrant – like that of a gorgeous summer garden! You can cut the pieces into any shape – triangle, circle or rectangle. Sorting out the colours in different sections can really help make the process easier.
Step 2: Prepare the pot
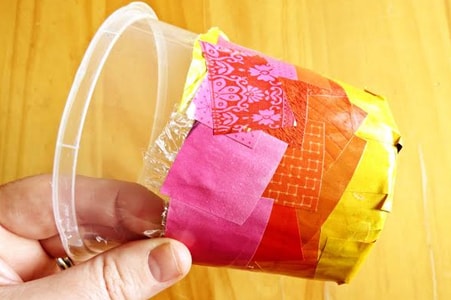
Once you have set aside the paper you want to use, start preparing your pot by wrapping the plastic food wrap around the container. This will ensure that the paper mache does not stick to the base of the pot. If need be, secure the plastic to the top part of the container you used. Just be sure not to stick more paper on the plastic, as it will get difficult to remove the pot after it dries.
Step 3: Glue the paper
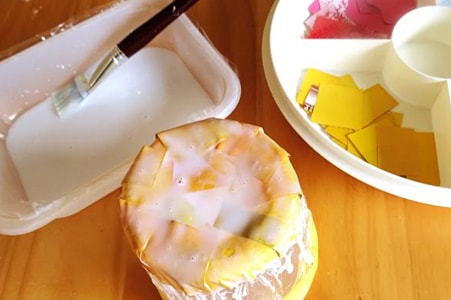
Next, prepare the glue by adding just a little water – avoid making it runny or too diluted. Keep this mixture in a low-sided tray.
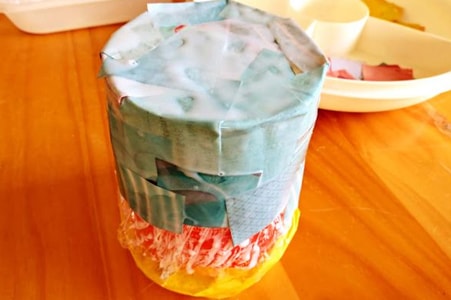
Once you are done with the top part of the container, turn it upside down and continue sticking the papers on the base of the container. Repeat the same steps as the ones you followed to stick the papers at the bottom of the container.
Step 4: Dry the paper
Now, let the container sit until the paper dries completely. Depending on how thick your paper layers are, papers will take about 48 hours to dry – give or take.
Step 5: Remove the masking tape
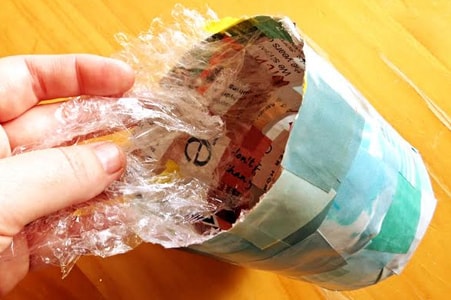
Once the container dries, remove the masking tape. Take the plastic wrap off the container. Be careful and gentle throughout the process.
Step 6: Refine the edges
Once you pull the plastic wrap gently from inside the container, cut off the edges of the paper.
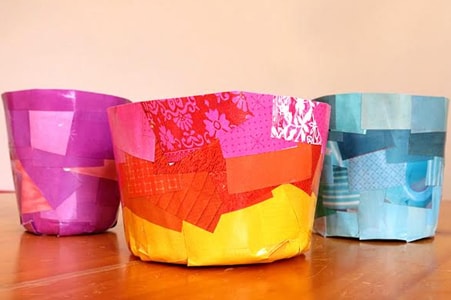
Once the edges are done, your recycled paper mache pots are good to go! You can use these to store stationery, as pen-holders or even pot faux plants to decorate your desk.

Did you like our recycled paper mache pot idea for World Earth Day?
Share your thoughts with us in the comments below.
Leave a comment

Comment added
Comment updated
Comment deleted
More inspiration

“
“The world always seems brighter when you've just made something that wasn't there before.”