
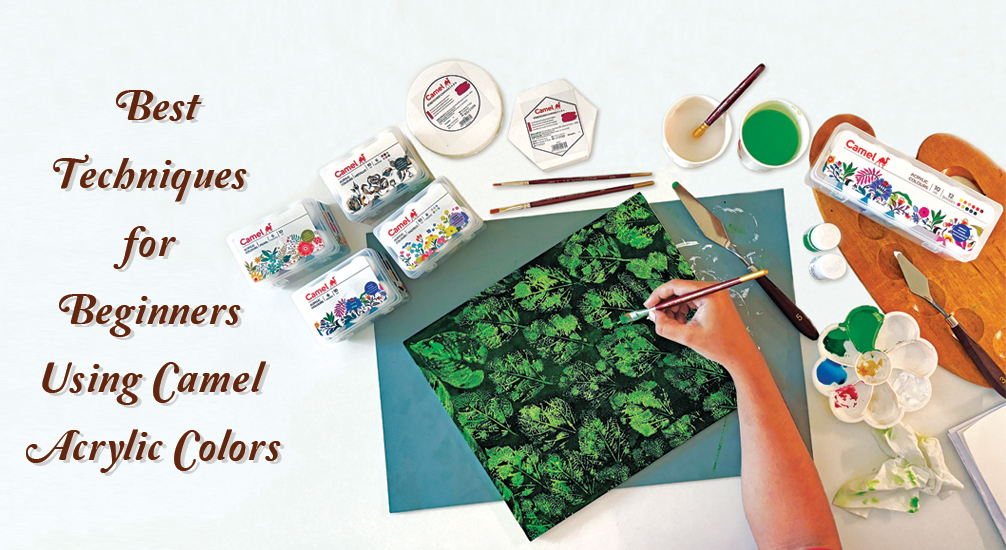
If you’ve ever been drawn to the world of acrylic painting but have been overwhelmed by the process and possibilities, you’ve come to the right place. Many aspiring artists tend to shy away from experimenting with acrylics simply because they think they need fancy tools and cannot find tips for acrylic painting for beginners – but that is far from the truth.
The good news is that you don’t need a lot to get things started. A little guidance on acrylic techniques and Camel Acrylic Paints can make your learning process both rewarding and enjoyable. Read on to know how.
Why Choose Camel Acrylic Paints?
Camel Acrylic Colours are known for their rich pigmentation, smooth consistency and blendability. They also provide excellent coverage and can be used on multiple surfaces – making them a versatile paint to experiment with. Before we dive into advanced acrylic techniques, it is crucial to understand the basics. Here’s a step-by-step guide on acrylic painting for beginners and how you can make the most of Camel Acrylic Paints.
Preparing Your Workspace
Working in a clean, well-lit space is the best way to foster creativity. Before you begin, ensure you have all your supplies. For a beginner, you will need some Camel acrylic paint, a variety of brushes of different sizes, and a canvas to work on. Acrylic paints are also likely to blot if not handled properly, so keep paper towels handy.
Mastering Basic Acrylic Techniques
When it comes to mastering acrylic painting, some basic techniques can help you lay the foundation for it.
- Wet-on-Wet: This involves applying a fresh coat of paint onto a layer of paint that is still wet. Done to attain perfect backgrounds and shadows, this technique makes colour blending much easier. So the next time you want to paint a sunset, don’t be afraid to mix your oranges and pinks while the paint is still wet on the canvas.
- Dry brushing: Used to create moving atmospheric effects like mist, fog, clouds, etc., it’s done by slightly dipping the brush into acrylic paint and then wiping most of it from the bristles. The remaining paint is then gently dragged across the canvas to create a light texture.
- Stippling: Also known as pointillism, this technique involves dipping the very tip of the brush in paint and lightly dabbing on the surface to form a repetition of dots that create an impressionistic effect.
- Palette Knife: For bold textures and expressive strokes, using a palette knife can be effective. Use it to spread thick paint or create textured effects that stand out.
- Final touches and finishing: Acrylics dry quickly, making layering pretty straightforward. To layer or glaze your artwork (i.e., add a layer of transparent paint over a dry layer to give it a shiny finish), you need to create your painting in stages. Start your work with a base layer and add details to it as you go. Once dried, use a medium to glaze your final product.
Use Colours Effectively
Choosing the right colour combinations is crucial. However, picking the right ones can be a bit overwhelming for a beginner. Starting with a limited palette of primary colours (red, blue, and yellow), along with black and white, can help you make several new shades and tints. And as you experiment, you get to create your own palette and colour mixing chart! P.S.:- Acrylic paints dry darker, so keep that in mind when mixing.
Start Small
Starting with simple subjects like vases, flowers, or landscapes will help you build confidence and an understanding of shapes, light, and colours. Use this stage of learning to focus on colour combinations, brushstroke control, and shading techniques without stressing over the type of artwork you want to create.
Tips for Success
- Use quality brushes: Synthetic brushes work best for acrylic colours as they are stiff, which helps make sharp lines and controlled brushstrokes much easier.
- Keep your brushstrokes loose: You do not have to overthink every stroke you make. Let your hands move freely, and your art will come out more natural.
- Work in thin layers: Thin layers dry faster and are less likely to crack or peel.
- Hygiene: Clean your brushes regularly to ensure longevity and shape.
Conclusion
Acrylic painting does not have to be intimidating. With Camel Acrylic Colours and some simple techniques, creating your masterpiece is not a far-fetched dream. So embrace the process, play with colours, and watch as your skills grow year by year.
Did this article help you learn something new?
Share your thoughts with us in the comments below.
Leave a comment

Comment added
Comment updated
Comment deleted
“
“You don't choose art. Art chooses you.”